Viking Oven Repair
Viking Oven Running Hot: Reading the Temperature Drift
If your Viking oven browns everything in half the stated time, the cavity is running hot. Here is how to measure the drift properly, what each pattern of error points at, and which faults are a calibration and which are a part.
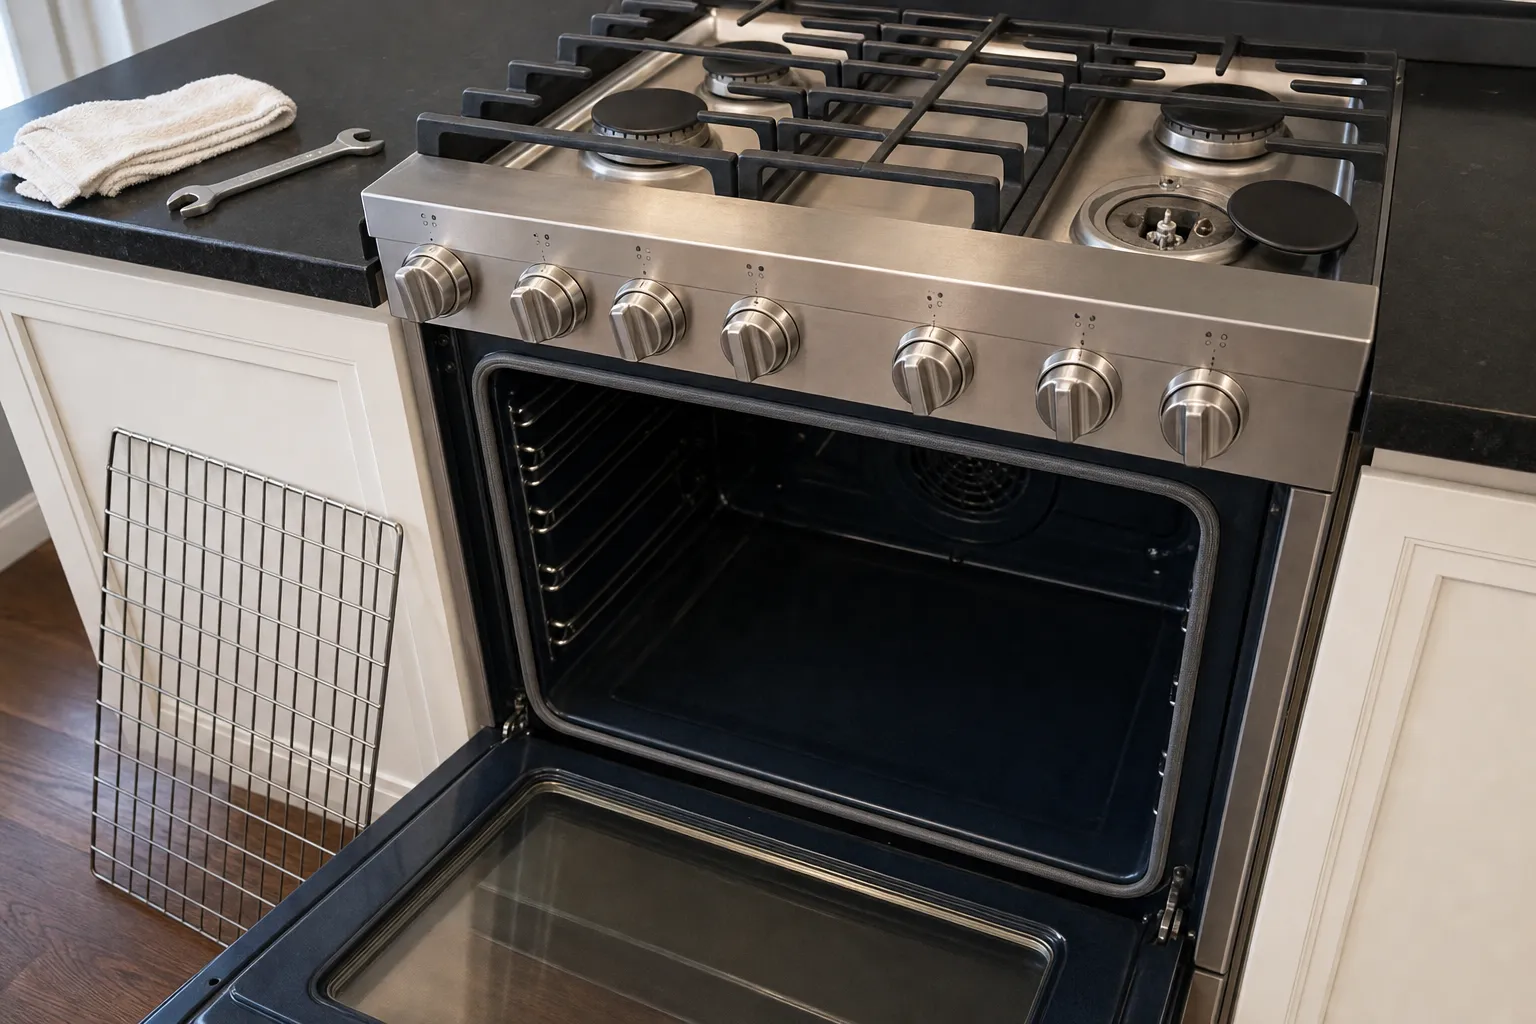
An oven that runs hot announces itself in the baking rather than on the display. Cookies go dark underneath before the top sets. Cakes dome and crack. A roast that has always taken ninety minutes is done in seventy. The panel still says 350°F, and it is not lying about what it was told — it is lying about what is happening in the cavity.
Viking wall ovens and range cavities have a lot of thermal mass and heavy insulation, which is exactly what makes them good ovens. It also means they hold errors steadily and predictably, and that is useful: a steady error is a measurable one, and a measurement turns “it seems hot” into a specific fault.
Measure the drift before you diagnose it
Do not use the probe that came with the oven and do not judge it by the food. Get an oven thermometer that hangs from a rack — a dial one is fine, a thermocouple probe is better.
The method matters more than the instrument:
- Put the thermometer in the centre of the middle rack, not against a wall and not on the floor of the cavity.
- Set the oven to 350°F and leave it alone for twenty minutes after the preheat tone. Preheat overshoot is normal and reading during it tells you nothing.
- Read it, then read it again at five-minute intervals for another twenty minutes, without opening the door more than a crack.
- Repeat the whole thing at 450°F.
You now have two numbers and, more importantly, a shape. Write down both.
What each pattern means
Steady error, same at both temperatures. The cavity holds 385°F when asked for 350, and 485 when asked for 450. That is a calibration offset. The control believes the sensor, and the sensor reads low across its range. This is the friendliest version of the fault.
Error that shrinks as temperature rises. 40°F hot at 350, only 12°F hot at 450. That is a sensor going non-linear — the resistance curve of the temperature probe has drifted away from the table the control board expects. Calibration will not fix it, because there is no single offset that is correct at both ends. The probe is the part.
Error that swings. The thermometer reads 330, then 390, then 340 across ten minutes at a steady setting. That is cycling, and the cause is almost always the relay on the control board or a failing probe connection rather than the probe element itself. It is also the pattern most likely to come with an F-code eventually.
Temperature that climbs and does not stop. Not a drift at all. A relay has welded closed and the element is on permanently. Shut it off at the breaker.
The offset adjustment, and its limits
Many electronically controlled ovens let the owner nudge the temperature up or down. Whether yours does, and how to reach the setting, is in the use-and-care guide for your model number; do not guess at key sequences on the panel.
Two honest caveats about it.
Where the adjustment exists, its range is deliberately narrow. It is there to trim genuine calibration drift, not to paper over a failing part. If you need to dial in more than about 25°F to bring the cavity into line, you are compensating for something that will keep moving, and you will be back at the keypad in three months.
And it applies a single offset across the whole range. If your two measurements gave different errors, an offset is by definition the wrong tool — it will bring one temperature right and push the other further out.
The parts that actually fail
Three, in rough order of frequency.
The oven temperature sensor. A resistance probe mounted through the rear cavity wall. It fails by drifting rather than dying, which is why the oven degrades gradually rather than stopping. It is a modest part and a straightforward replacement on most Viking wall ovens.
The control board. Relays are the wear item. Every heating cycle is a switching event, and a self-clean cycle is a brutal one. Symptoms cluster: erratic temperature, intermittent F-codes, a display that occasionally resets. Of the three faults here, a board is far and away the dearest.
The door seal and hinges. Not a heating fault, but it presents like one — an oven that cannot hold heat compensates by running the element longer, which overshoots in the middle of the cavity while the front stays cool. If the door does not close flat, or a dollar bill slides out easily when trapped in the closed door at three points around the frame, deal with that before chasing sensors.
When a hot oven is worth fixing
The measurements you took decide which repair this is, and the three repairs are nothing like each other in cost. A recalibration is labour only — no part, and the cheapest possible outcome. A sensor is a modest part and a straightforward swap on most Viking wall ovens. A control board is the expensive one, several times a sensor, because the board itself is the cost and it is specific to your model’s revision.
That ordering is worth knowing before you call, because it means the most likely diagnosis is not the most expensive one. And all three sit against a built-in wall oven that is cut into a cabinet run, so replacing it costs far more than any of the three repairs — before the cabinetry work that a different-sized replacement forces. The arithmetic is rarely close. You get the actual figure once the fault is confirmed, before any part is ordered.
The exception is a twenty-year-old cavity that needs a board and a sensor and a hinge set at once. Three parts on an old unit is the point at which Viking Repair Issaquah says plainly that you are part-way to a new oven, and charges the service call rather than the repair.
What to have ready when you call
The model number, first. It is printed on a label fixed to the oven or range, and the use-and-care guide shows where; it determines the sensor part number and the board revision.
Then your two thermometer readings and the times they were taken. That single piece of homework is the difference between a diagnostic that confirms a fault in fifteen minutes and one that spends an hour reproducing something you already knew. It also means the part quoted back to you is the part your oven actually needs.
Asked about this
How far out does a Viking oven have to be before it is a fault?
Around 25°F of steady error is the point where baking noticeably suffers. A steady error that the oven's own adjustment cannot trim out is a fault rather than a calibration, and anything that swings wildly rather than sitting steady is a fault at any size.
Can I just set the oven lower to compensate?
It works for roasting and it does not work for baking. A steady 40°F error can be dialled around, but the error usually is not steady across the range — it shrinks as the set temperature rises, so the compensation you learn at one temperature is wrong at another.
Is a hot oven dangerous?
A steady overshoot is not, beyond ruined food. An oven that keeps climbing after it reaches temperature, or one that stays hot when switched off, is a different matter — that is a stuck relay, and it should be shut off at the breaker and looked at promptly.
Does self-clean cause this?
It can. A self-clean cycle drives the cavity past 800°F, and that heat is hard on the door seal, the hinge springs and the control board's relays. Ovens that develop temperature faults within a week of a self-clean cycle are common enough that the date of the last cycle is always asked for.